Add Facebook Pixel and Google Analytics Tracking
To add Facebook Pixel and Google Analytics tracking to your Lives2Leads pages…
Step 1: Go to “Settings”

Step 2: Go to “Business Details” and scroll down to “Tracking & Remarketing” section
Step 3: Add your “Facebook Pixel ID” and your “Google Analytics Property ID”
Be sure to “Save” your changes.
Your tracking codes are now all set!
Once these codes are active, you’ll see data populating from your Lives2Leads account into your Facebook Ads Manager and your Google Analytics account.
In Facebook’s Events Manager, you’ll start to see new events being tracked:
- “Event/Viewed/Any” = pixeled data for any/all leads that have viewed ANY of your Lives2Leads event pages
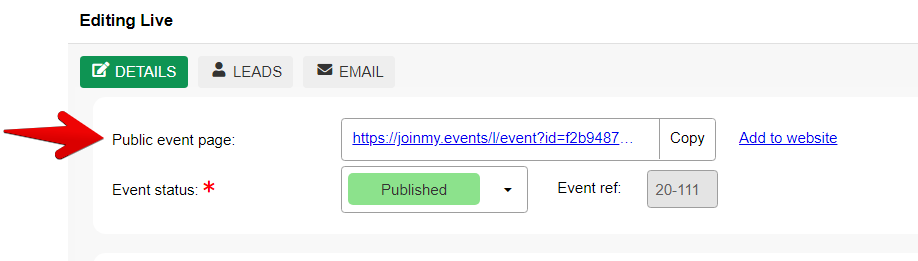
- “Event/Viewed/##-###” = pixeled data for any/all leads that have viewed a specific event. In this case, the “##-###” will refer to the “Event ref”, which can be found on your Lives page or within the details of any given Live
- “Event/Registered/Any” = pixeled data for any/all leads that have registered for ANY of your Lives2Leads event pages
- “Event/Registered/##-###” = pixeled data for any/all leads that have registered for a specific event. In this case, the “##-###” will refer to the “Event ref”, which can be found on your Lives page or within the details of any given Live
In Google Analytics you’ll see new page views being tracked and they’ll look something like this:
In this case the “page” name corresponds with the public link you’d be sharing with people to view your event page.
You can find this link while viewing editing the details of your event in the Lives2Leads admin dashboard.